Clones are an identical copy of your WordPress. It is a script that runs and copies your database and all the content of the site (extensions, themes, etc.) to a new space.
Note that we add instructions in the wp-config.php and a mu-plugin on the clone in order not to duplicate the media of your production site on the clone. The display of images is still functional on the clone.
When the clone is created, the system automatically adds a Robots.txt file prohibiting search engines from indexing it. You can make sure that the engines do not index this content by going to the administration of your WordPress clone via Settings>>Reading>>Search Engine Visibility and checking Ask search engines not to index this site.
We advise you to use Duplicator in order to save a version of the day before, and to allow you to use it in case of problem.
Clone a site
First of all, go to your console and click on the button to manage the relevant WordPress site.
Then, go to the second tab, and click on the button Create a clone now.


The time it takes to clone will obviously depend on the size of your WordPress. It will take longer for a 300 post site than for a newly installed WordPress with very little content. Please wait until the cloning process is complete.
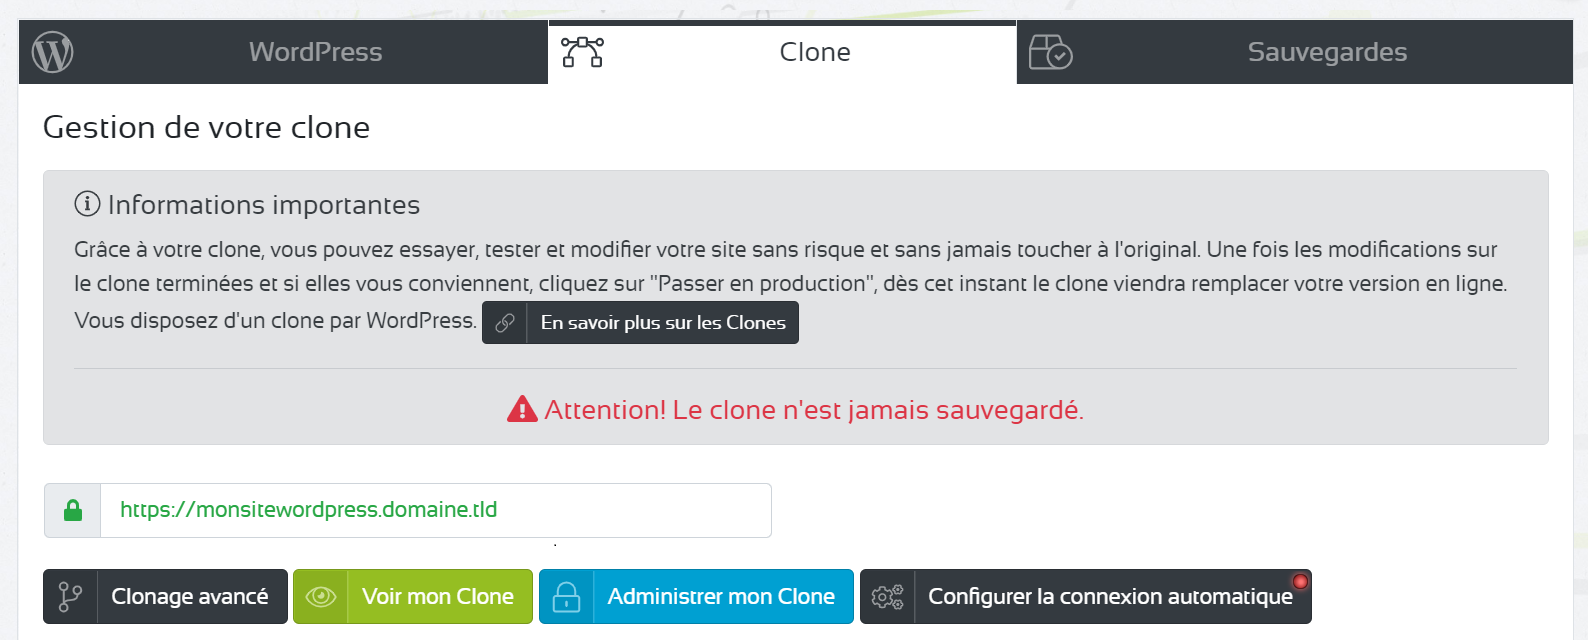
Once the operation is completed, the page will display the clone management options.
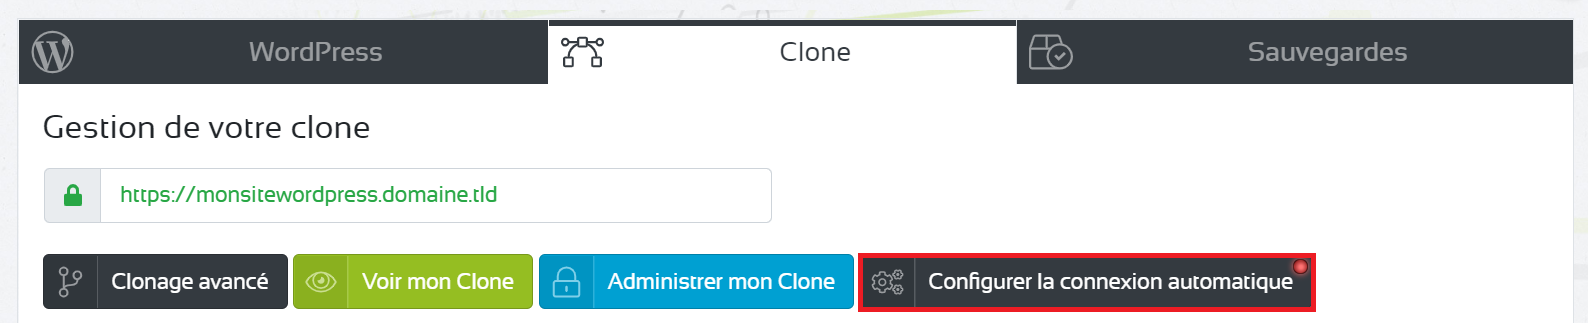
Manage the clone
Each time you clone your site, you will receive a new email summarizing all the information (login, Mdp, FTP, PhpMyAdmin...)

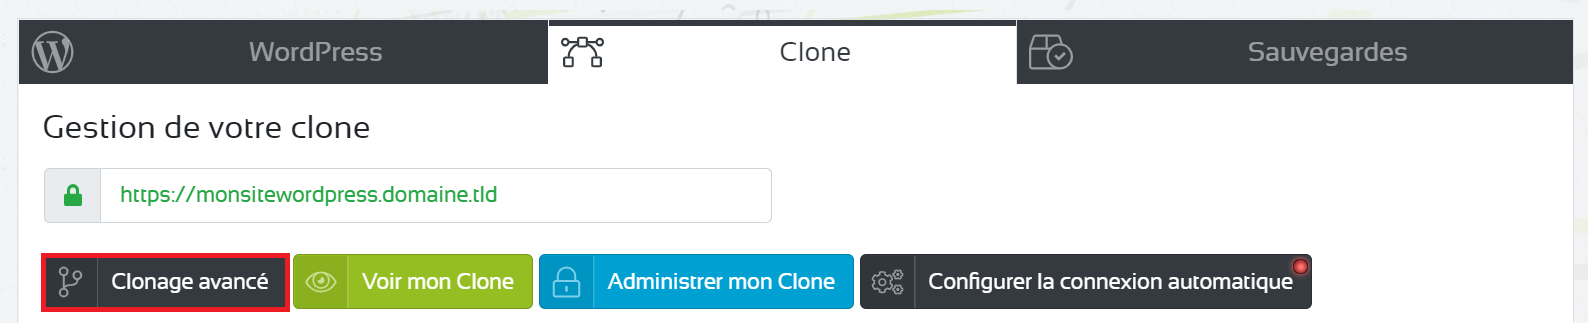
Advanced cloning
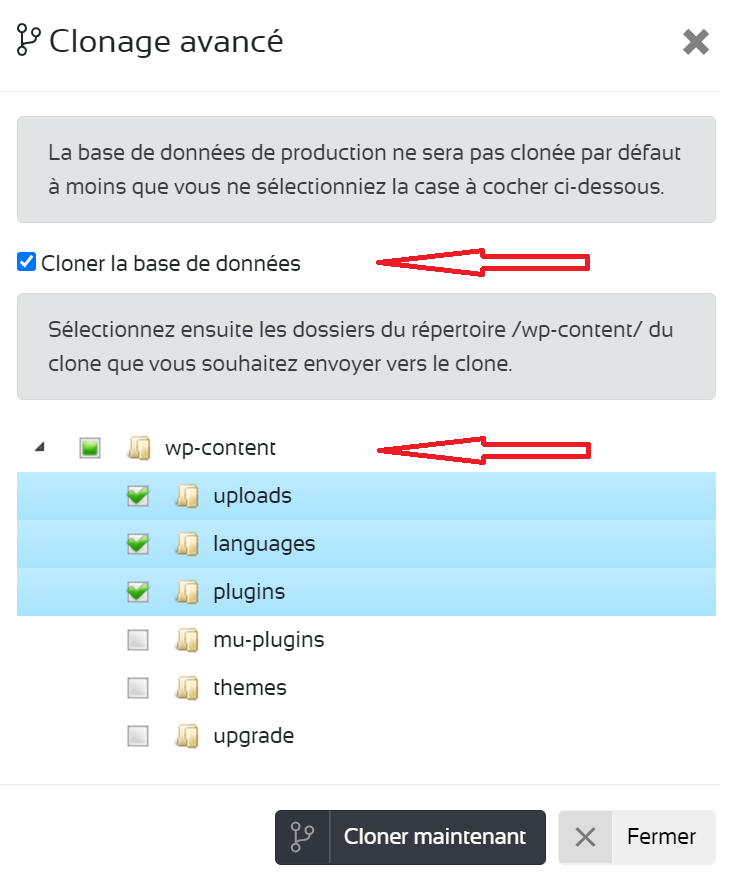
Advanced cloning allows you to select the items you want to clone.

The production database will not be cloned by default unless you select the check box.
Also, you can choose which folders or directories you want to send to the clone.

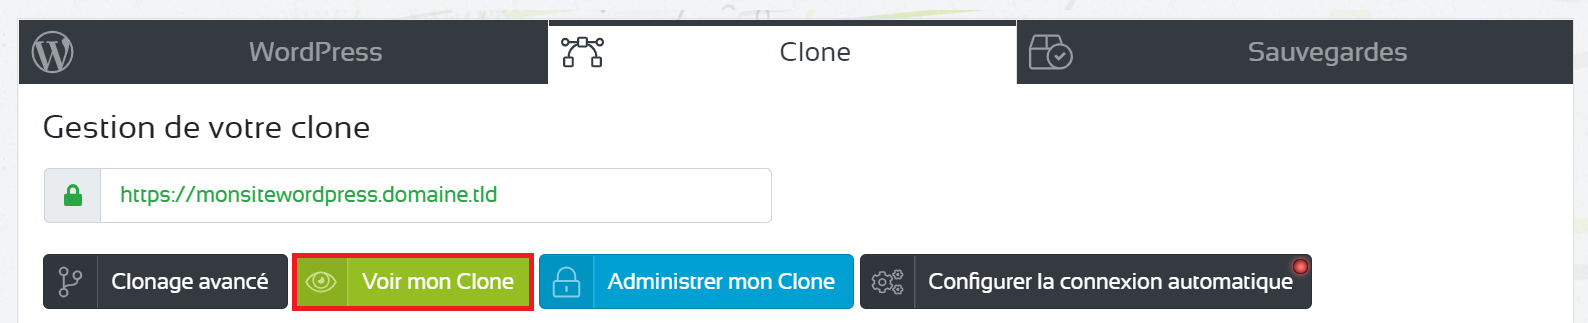
See my Clone
You can view the clone version site without touching your online site. If you click on the See my Clonethe content of the clone will be displayed in your browser.
Manage my Clone
You can administer the clone version site without touching your online site. If you click on the Manage my Clonethe WordPress back-office interface will appear in your browser. Use the same login and password as on your production WordPress.

Automatic connection to the clone
You can configure automatic connection to the back-office interface of the created clone. Click on the button Configure automatic connection.
Just click on the button Inactiveselect the user, then Register modifications.

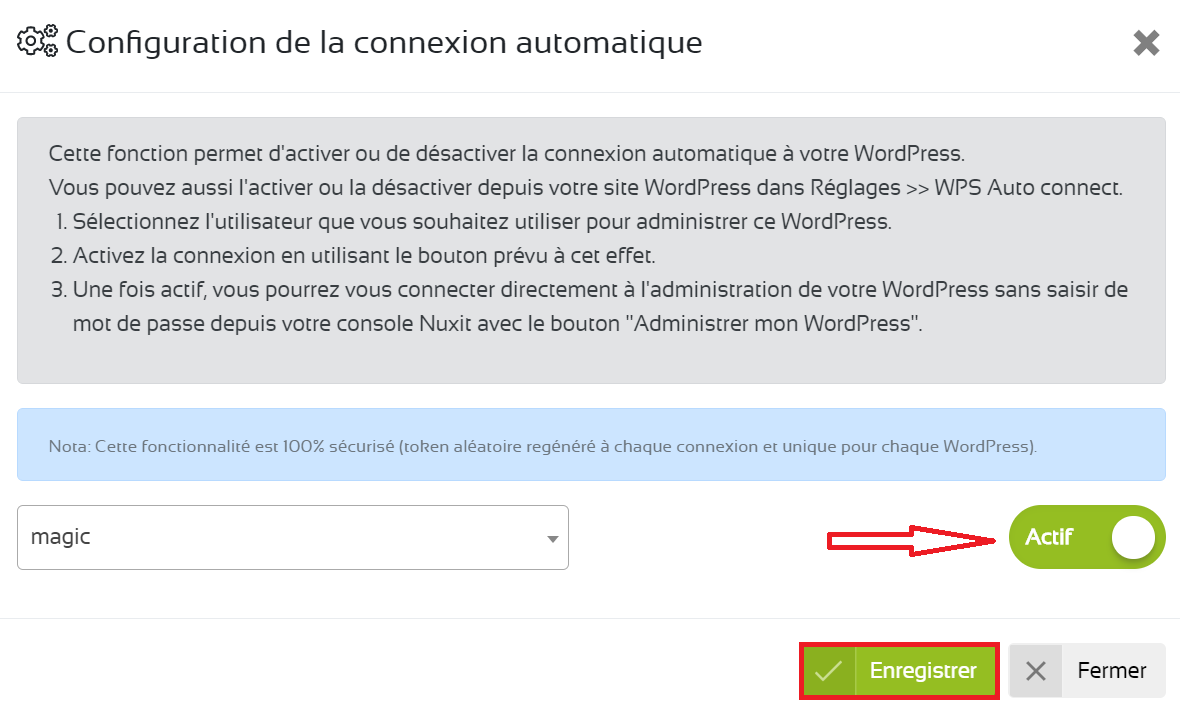
Once active, you will be able to connect to the administration of your clone without entering a password, via the button Administer my WordPresswith the green light status.


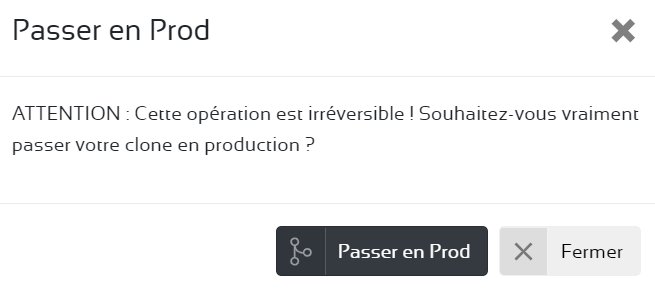
Go into production
If you are happy with the changes you made to your clone and want to apply them to your production WordPress, simply click Go to Production.


Be careful though, if you have made changes to your site in PROD after cloning, moving the clone to production will overwrite those changes. The advanced production tool can be useful in this case.
Go to Prod is an irreversible operation.

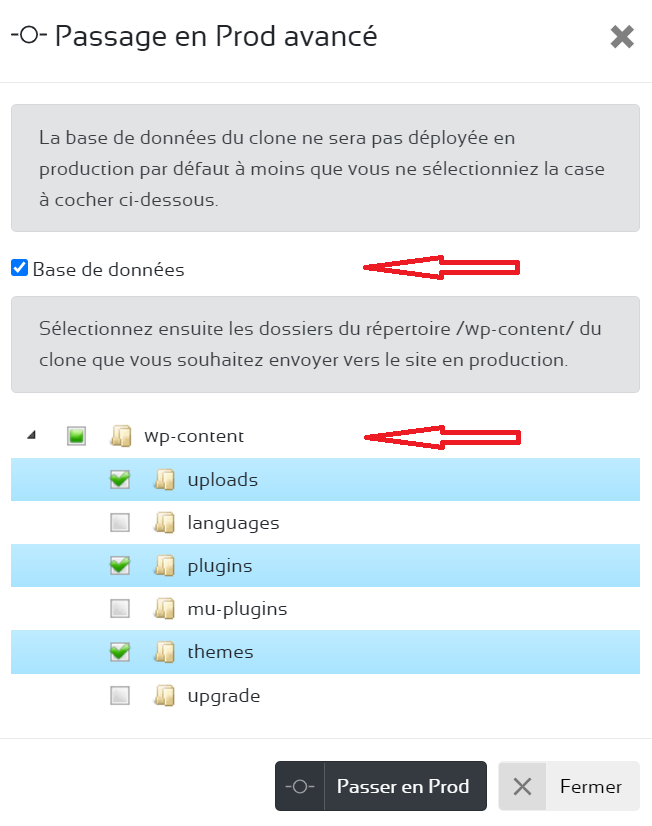
Move to advanced production
The advanced production switch allows you to choose which directories and files should be returned to your site in production.

This option is useful in the case where :
- You have created a clone of the site,
- You have made changes to your online site after cloning,
- You want to put the clone version back into production without overwriting the changes you made to the online version in step 2.
The clone database will not be deployed to production by default unless you select the check box.
Then select the folders in the /wp-content/ directory of the clone you want to send to the production site.

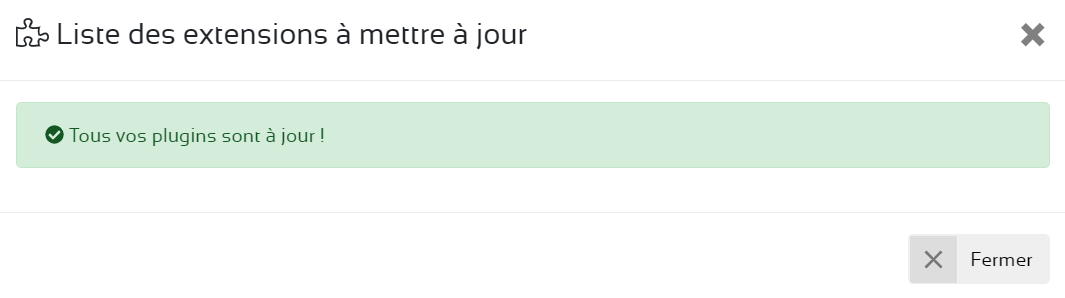
Updating the clone plugins
From your console, you can update all the plugins of the clone in one click.

If the plugins of the clone version are up to date, you will see the following message.

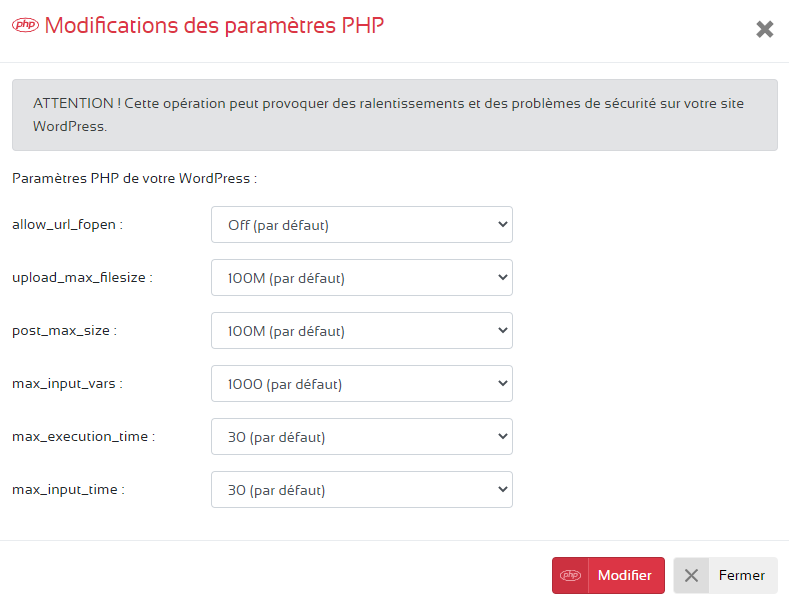
Clone PHP parameters
On the console, you can change the PHP settings of your clone.

You will find the most commonly used functions. Just choose the desired value and click on the button Edit.

PHP version of the clone
On the console, you can change the PHP version of your clone.

As a reminder, as of December 01, 2019:
- The PHP 7.4 version is already available,
- PHP 7.3 is entering its second year of support,
- PHP 7.2 is only supported for security patches,
- PHP 7.1 is no longer supported,
- PHP 7.0 is no longer supported.
If for any reason you want to change your PHP version, you just have to select the desired version and wait for the restart of the services (about 20 seconds).
Clone FTP settings
On the console, you can view the FTP settings of your clone.

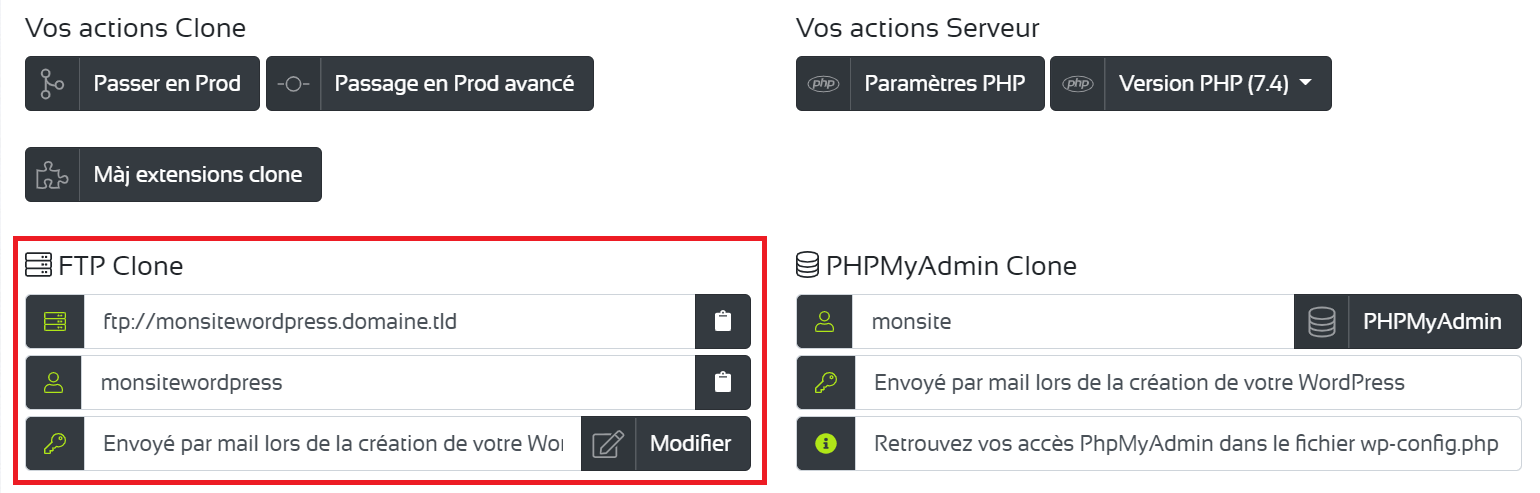
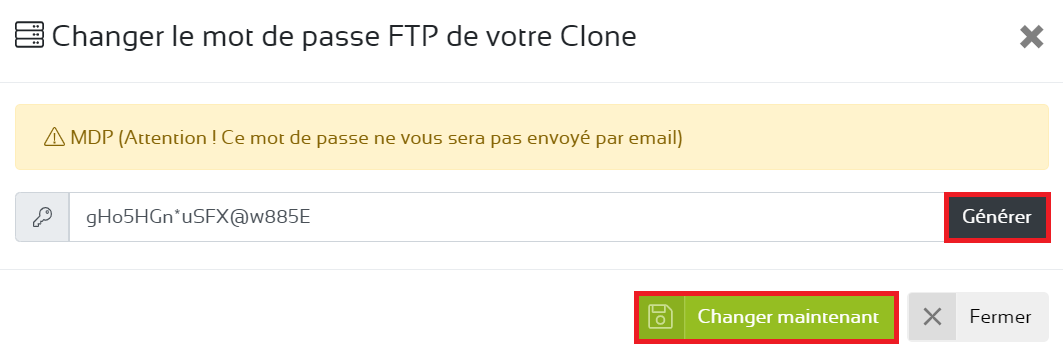
Only the password will not be displayed for security reasons. You can change it at any time.

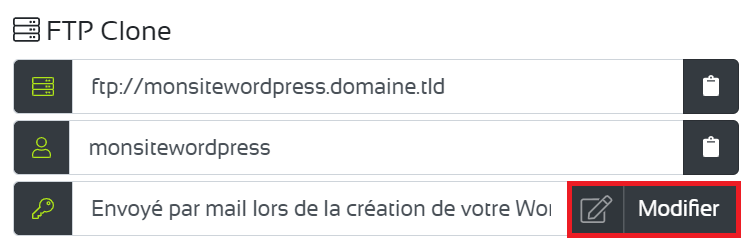
Enter the new password value and then press Register.

If you have any problems, go back to the previous version.
Clone database
On the console, you can see the name of the MySQL database of your clone.
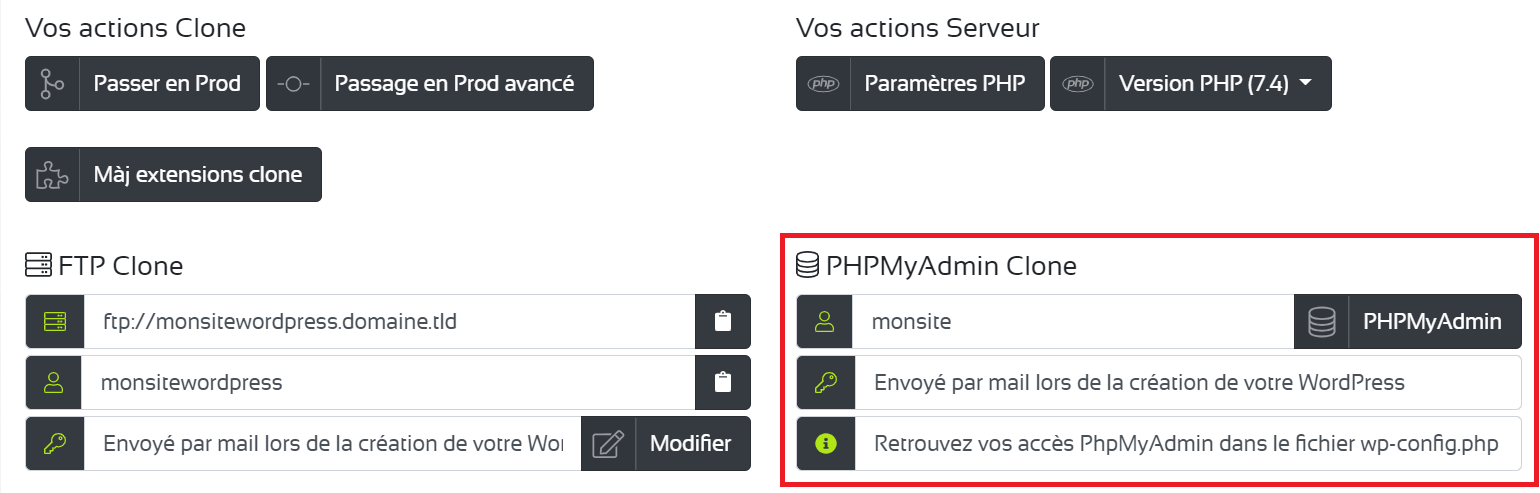
Only the password will not be displayed for security reasons.
In case of loss, you can retrieve the connection information through your FTP. You just have to open the file wp-config.php using the FTP accesses of the clone to connect in FTP.
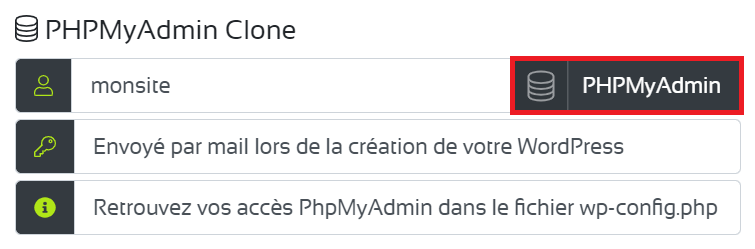
PHPMyAdmin interface of the clone
From the console, you can manage the clone database via the PhpMyAdmin interface. Just click on the button PHPMyAdmin.
Clone server log
For a clone, there are also server logs. You can read our documentation to analyze error logs and access logs.

Clone expert mode
For a clone, there is also the possibility to use the expert mode. You can read our documentation for understand this functionality.

Delete the clone
You only get one clone per WordPress. If you want to create a new one, you will first have to delete the existing clone by clicking on the red button Delete the clone.

Clone as a new WordPress
When the uploads folder of the clone contains errors in the display of resources or media, it is better to use the Clone as a new WordPress.