Migrate your WordPress with Migrate Guru
To move your WordPress site from another host to Magic Online, you can either use the WordPress export function (via tools >> Export/Import) or follow the procedure below using the Migrate Guru extension (recommended).

The first of the operations consists in add a WordPress from your console.
Then go to the WordPress you want to move and install/activate the Migrate Guru extension directly from your WordPress Extensions >> Add. Search for Migrate Guru. Click on Install now.

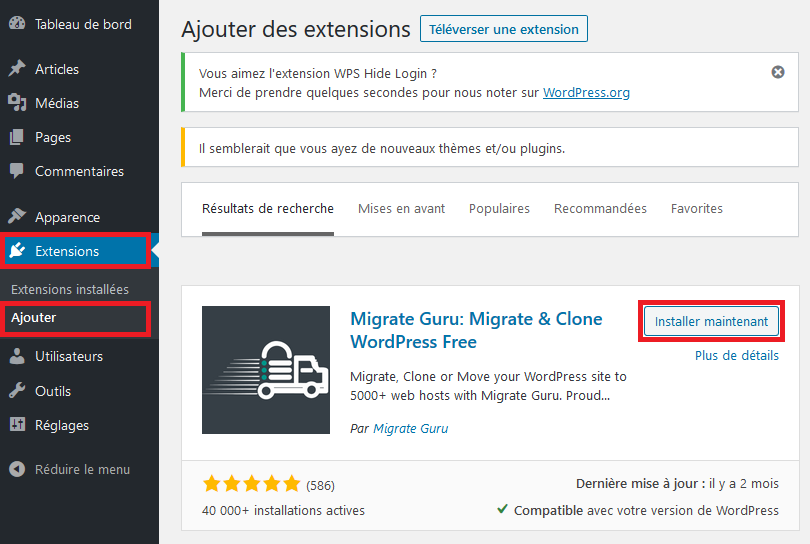
Click on Activate.


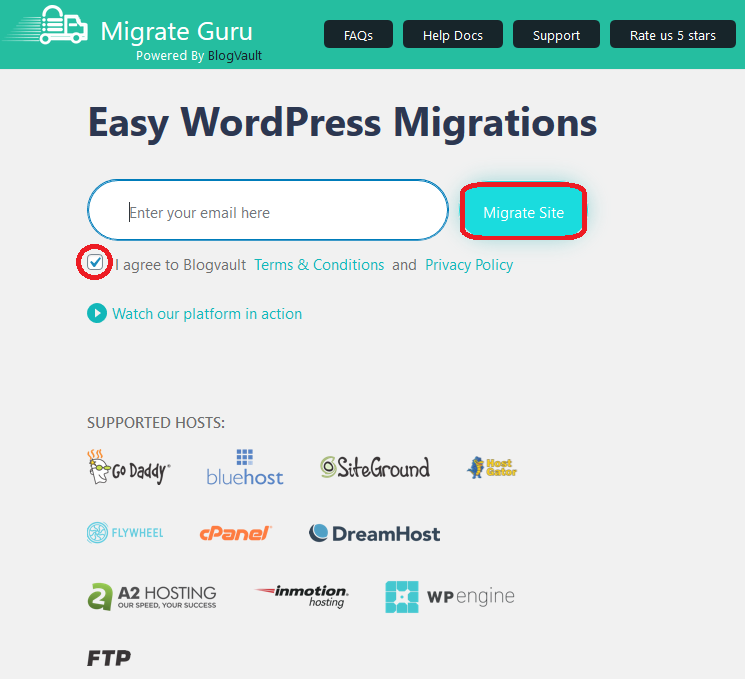
Fill in an e-mail address, then check the box I agree to Blogvault Terms & Conditions and Privacy Policy. Launch Migrate Guru via the Migrate Site.

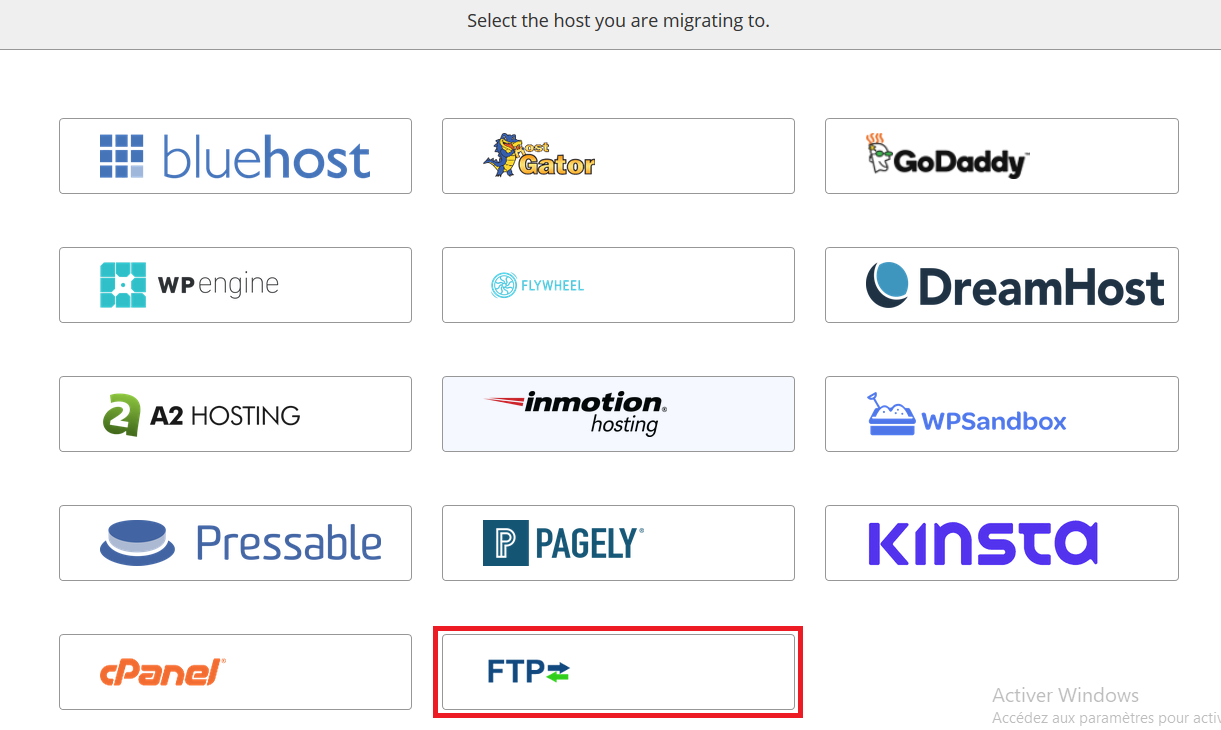
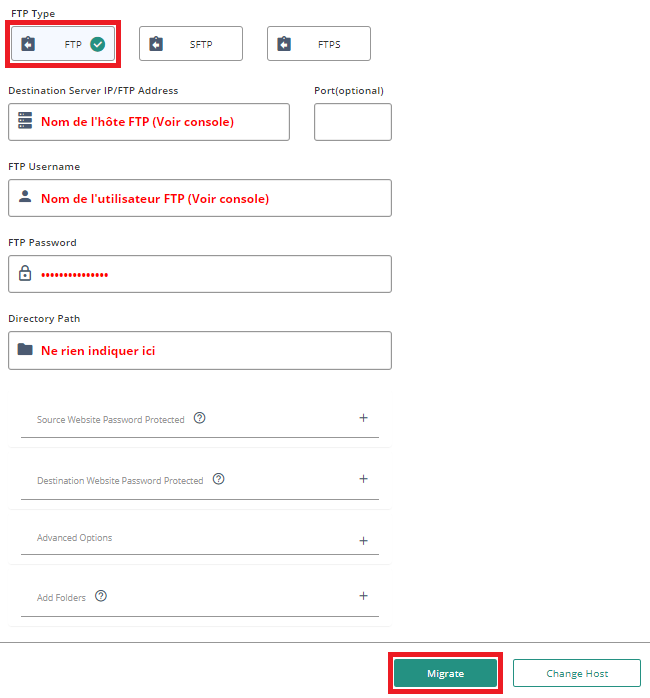
Choose the FTP method.

As indicated in green, fill in the FTP information of the site that will host the data of the site to be migrated then click on the green button Migrate. You can get all this FTP information by email when you create your WordPress or from your WPServer console. You can also change the FTP password from your WPServer console if you have misplaced it.

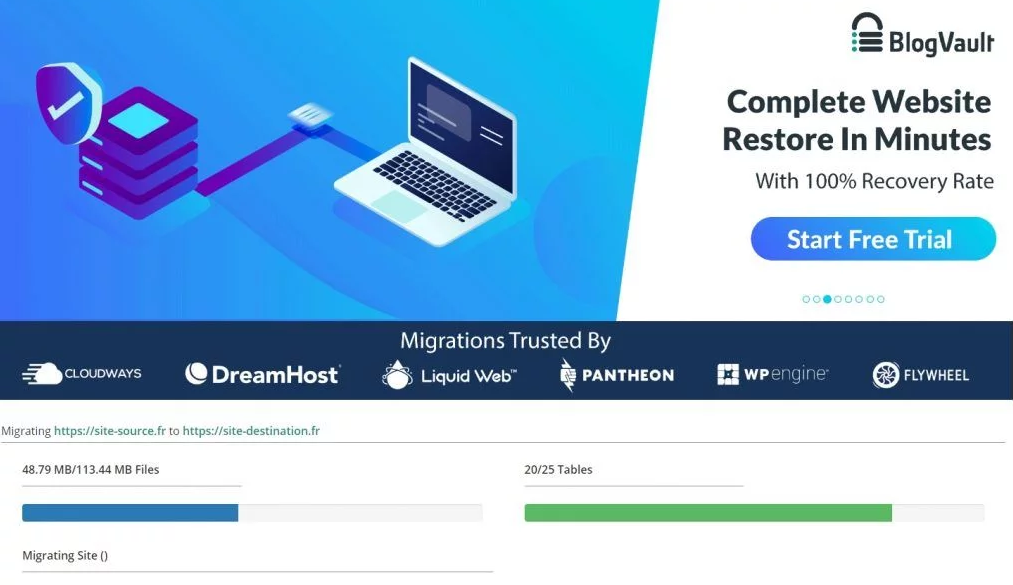
The migration begins.

Click on the green button Visit Migrated Site. You will be redirected to the newly migrated site.


Migrating your WordPress with Duplicator
Duplicator is a free and ideal tool for all your WordPress migrations. It allows you to migrate your site in a few minutes with ease. Just follow these steps to use it properly.
To make this article easier, we will name the two WordPress as follows:
WordPress A: This is the one you want to migrate. Where your site content is present.
WordPress B: This is the one created at Magic Online and will be replaced by WordPress A.
1. Create your WordPress B
Follow our support link to add a WordPress site from your Magic console.
Once you have created your WordPress, you will receive an email with all the login information; back-office interface, FTP and PhpMyAdmin. Make a note of these settings as you will need them later.
2. Install Duplicator on WordPress A
Log in to the administration interface of your WordPress site to be migrated.
Go to the extensions and click on Add. Search Duplicator and follow the button Install now.


Once the installation is complete, click on Activate.


3. Configuring Duplicator on WordPress A
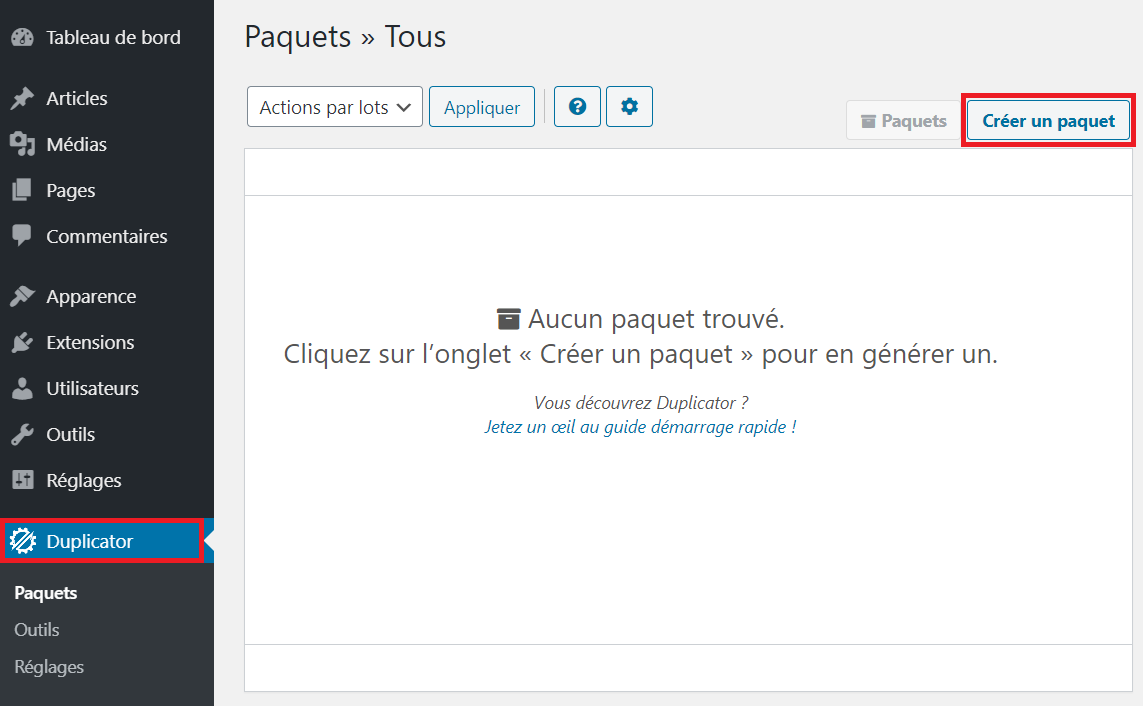
Launch Duplicator to begin, then click on Create a package.

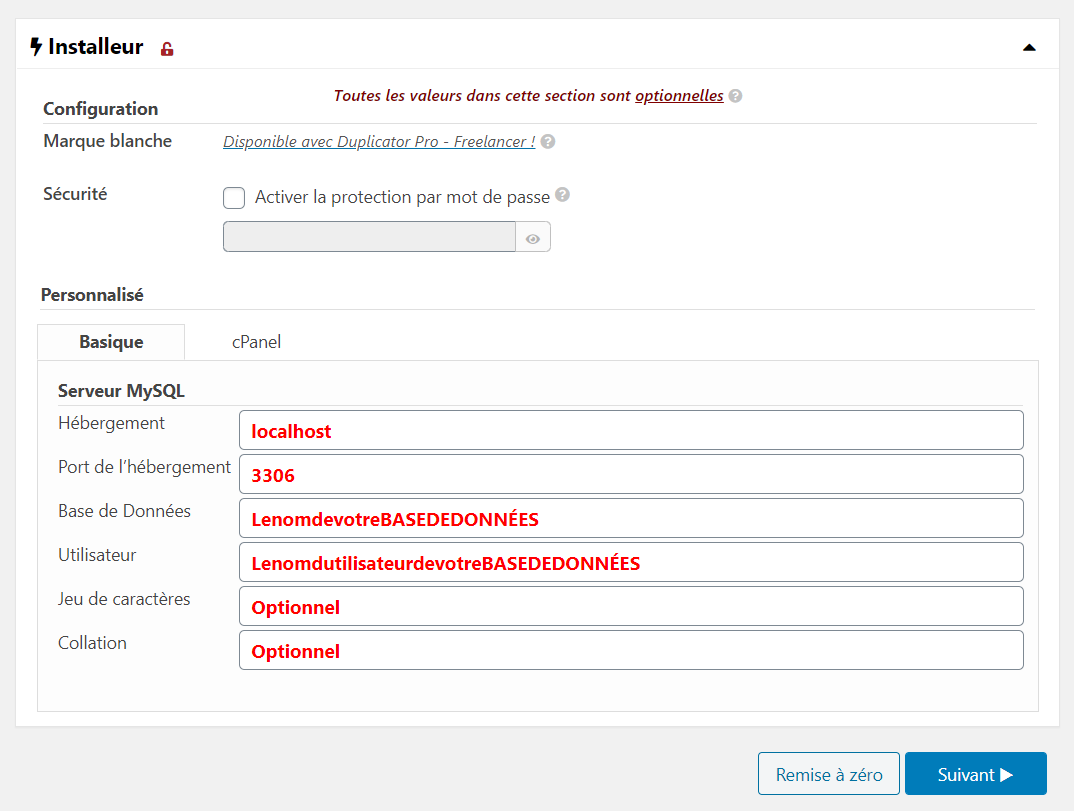
The sections Storage and Archive do not have to be configured. Instead, the section Installer.

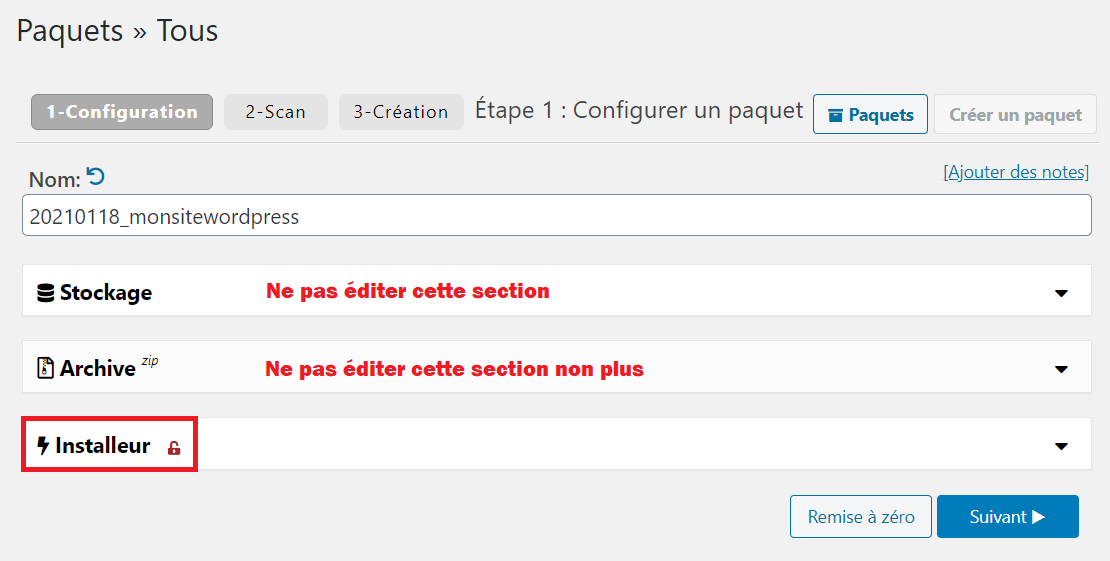
You can check the box Security for Enable password protection.
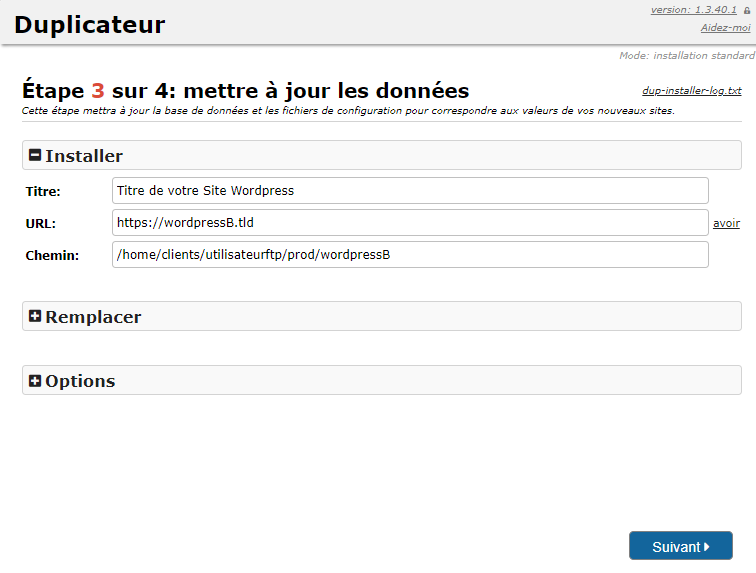
In the input fields, put the values of the WordPress A database as shown in the following image. Finally click on the button Following below.

A scan will then be performed to verify that everything is good. You should not have any errors.
In our case, there are no errors. But if you have errors, do not hesitate to create a support ticket and provide us with a printout so that we can assist you.
Click on the button Creation.


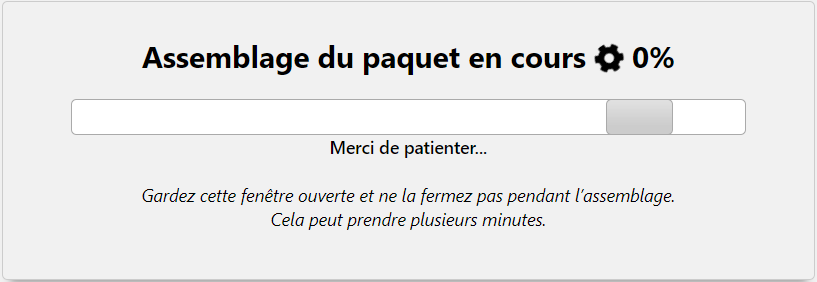
The assembly starts and takes a few minutes.

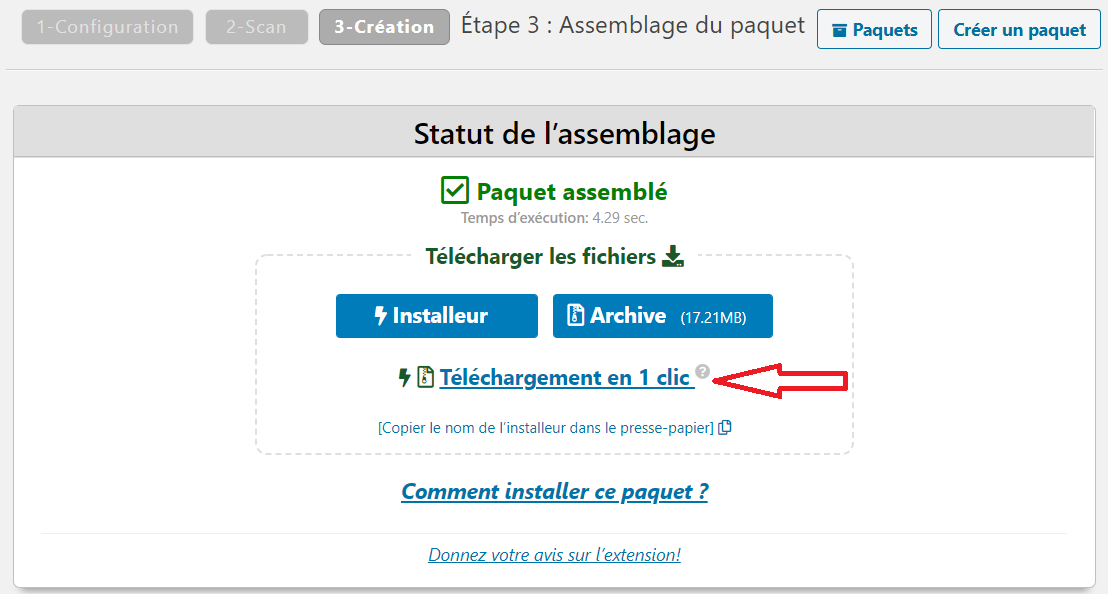
When the assembly is finished, you will see the two files installer and archivewhich are necessary to launch the migration of your WordPress.
Before proceeding to the next step, you must download these two files by clicking on the link Download in 1 click. The browser may ask for your confirmation to download more than one file at a time.
Remember to unzip the downloaded file on your local machine before proceeding to the next step.

4. Change the DNS of the WordPress domain A
To avoid any problems with your domain name, you should point your domain name to our servers.
5. Delete WordPress B tables
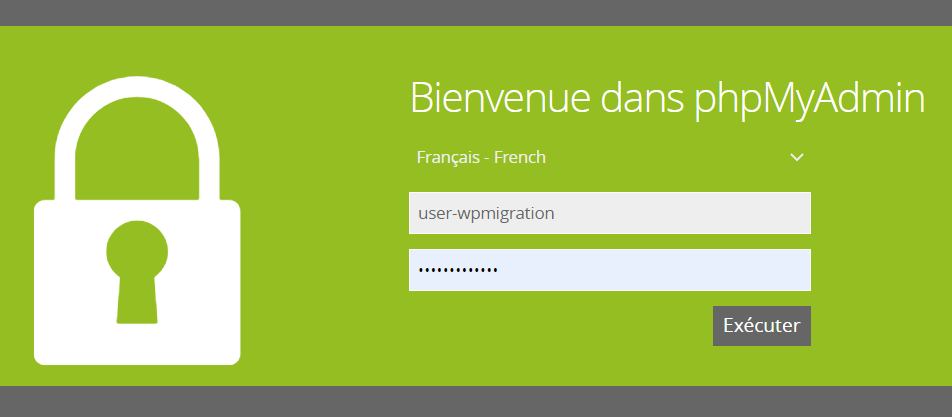
Access your PhpMyAdmin interface by clicking on the PhpMyAdmin button on your console.
Put your login information to connect.

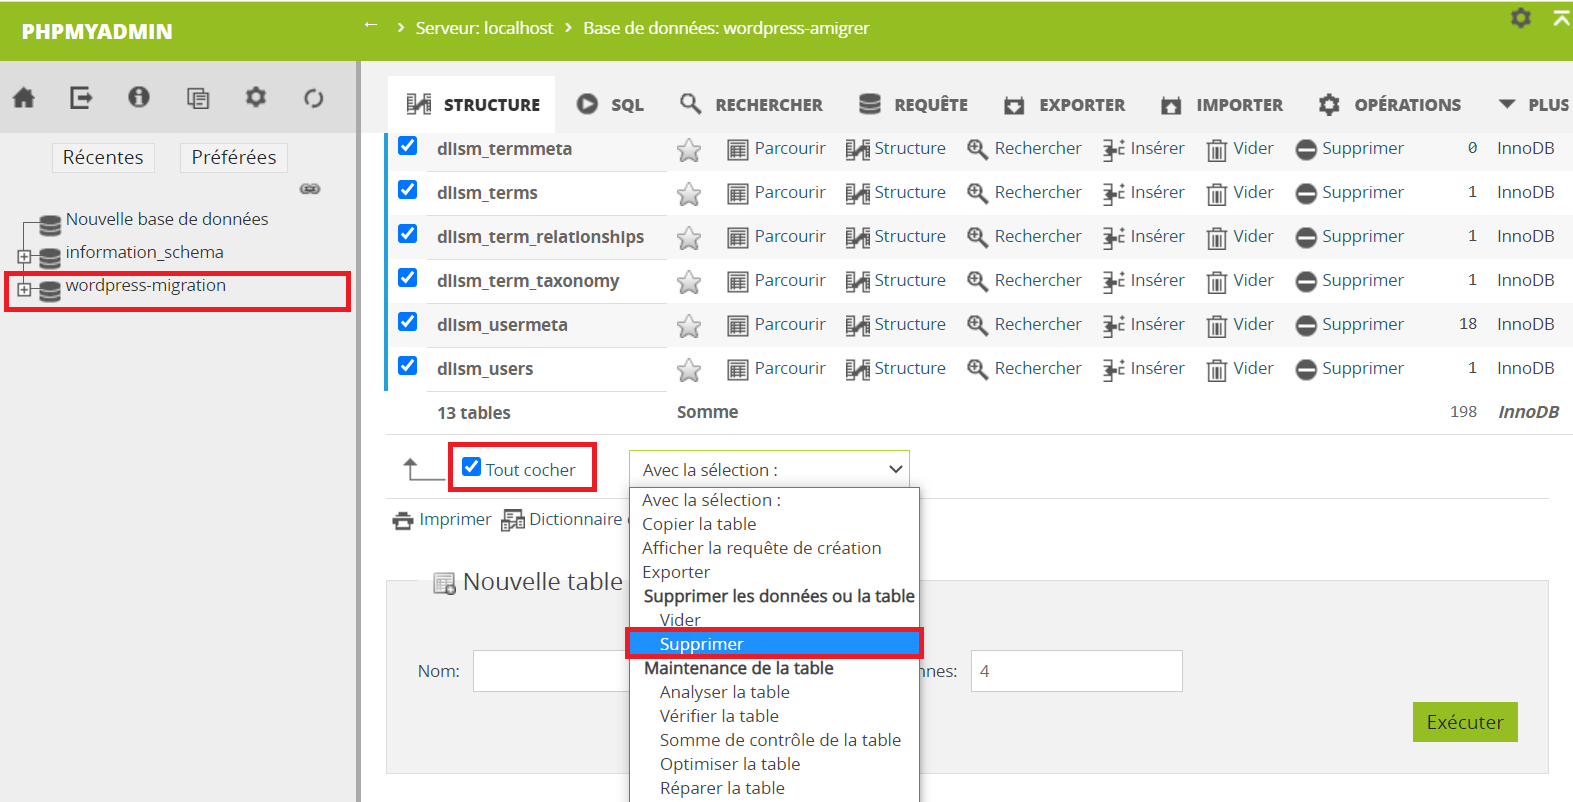
Click on the name of the database, then check all the tables in the database.
In the drop-down menu, choose Delete as shown in the following image.

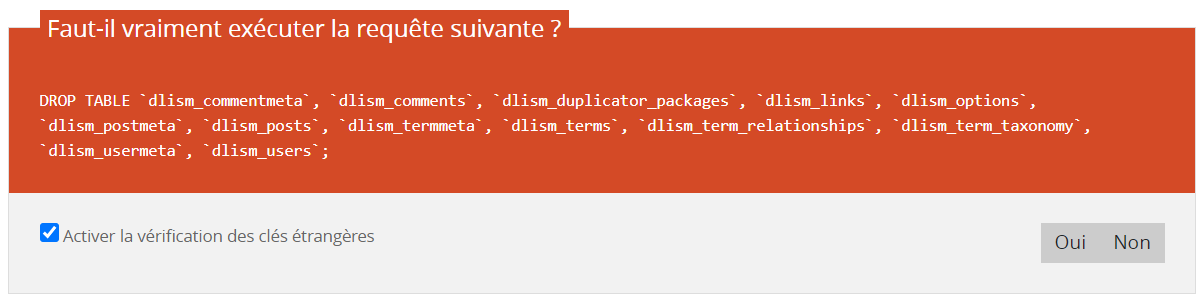
Confirm the deletion of the tables.

The interface should display this message at the end of the operation.


6. Delete FTP content from WordPress B
FTP access via the software Filezilla for example. You will need retrieve FTP connection settings in this case.
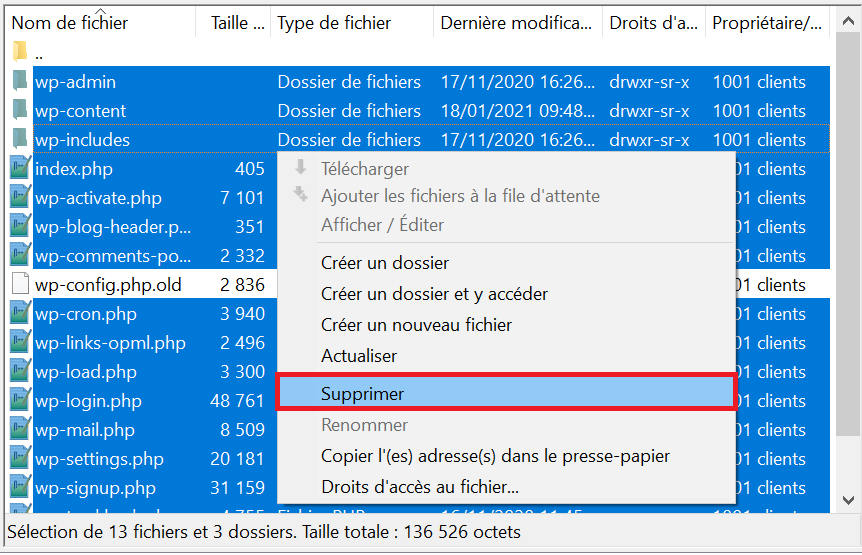
Once connected, first rename the file wp-config.php in wp-config.php.old and then delete all the FTP content except for this one.

Wait until the deletion can be finalized.
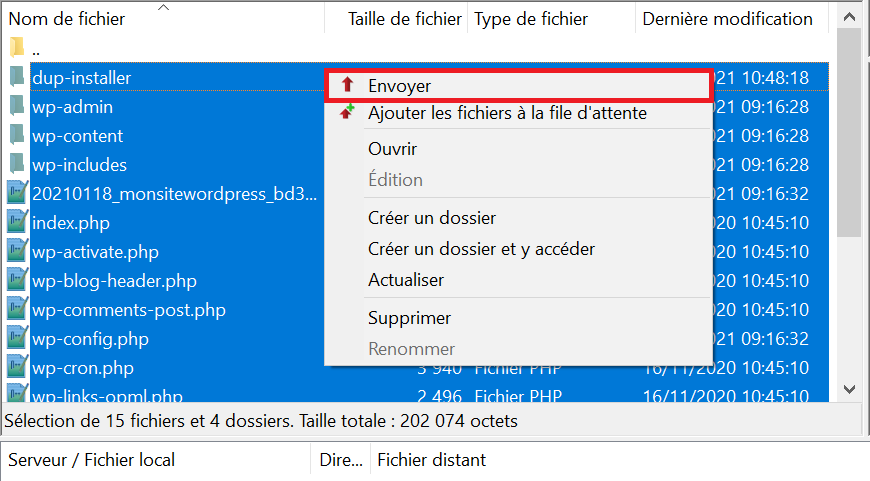
In the section Local site on Filezillaaccess the unpacked archive and installer you downloaded at Step 3. Send the decompressed content once the FTP content deletion -except the file deletion wp-config.php.old- be completed.

Delete the file wp-config.php, then rename wp-config.php.old to wp-config.php.
7. Launch the installer on WordPress B
The installer is in place after you send the files, you have to run it in your browser.
Just add in the address bar installer.php. The URL will then become https://VOTREWORDPRESS-B/installer.php.
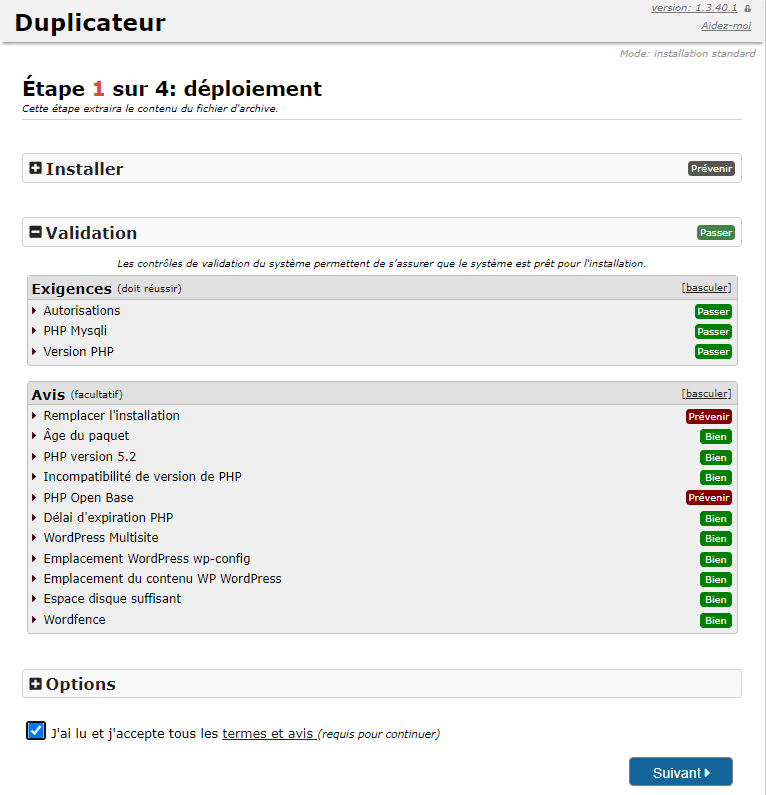
You will see the following page. Check the box I have read and agree to all terms and notices then click on Following.

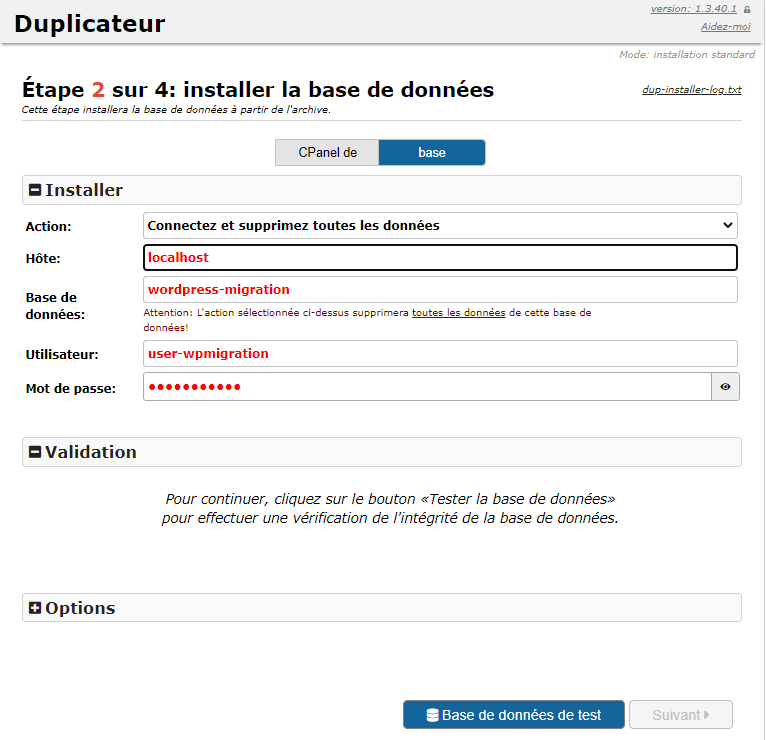
Choose the action Connect and delete all data.
Put localhost as a host.
Then enter the connection parameters to the WordPress B database.
Click on Test database to test the connection.

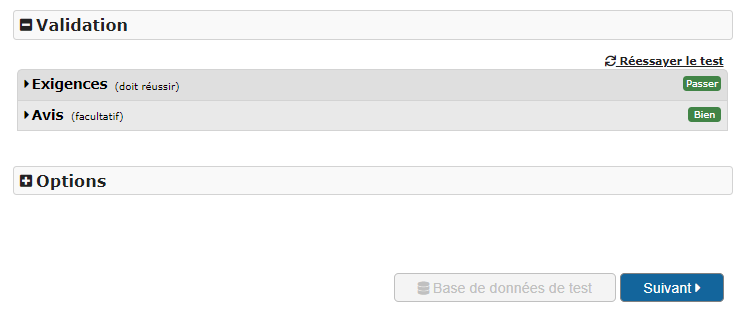
Once the test shows a success, you can click on the button Following.
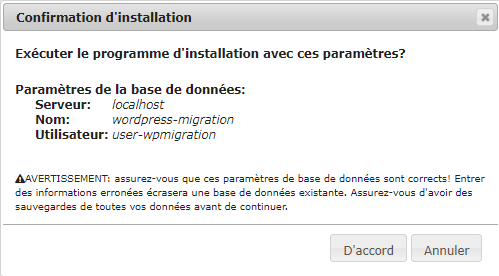
Click on the button I agree. to run the installation program.

The parameters being already correct, you can click on the button Following.

If you see the next page, it means that everything went well and that your migration is complete.

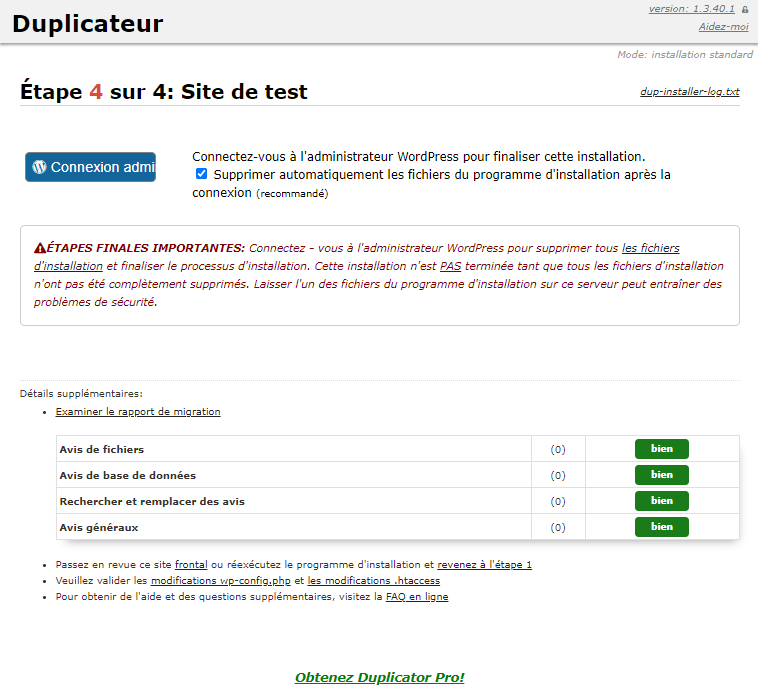
You can now go to your new migrated WordPress to test how well it works.
Don't forget to delete the installer.php file and the archive.