In this guide, we will see how to create a database on the Plesk interface.
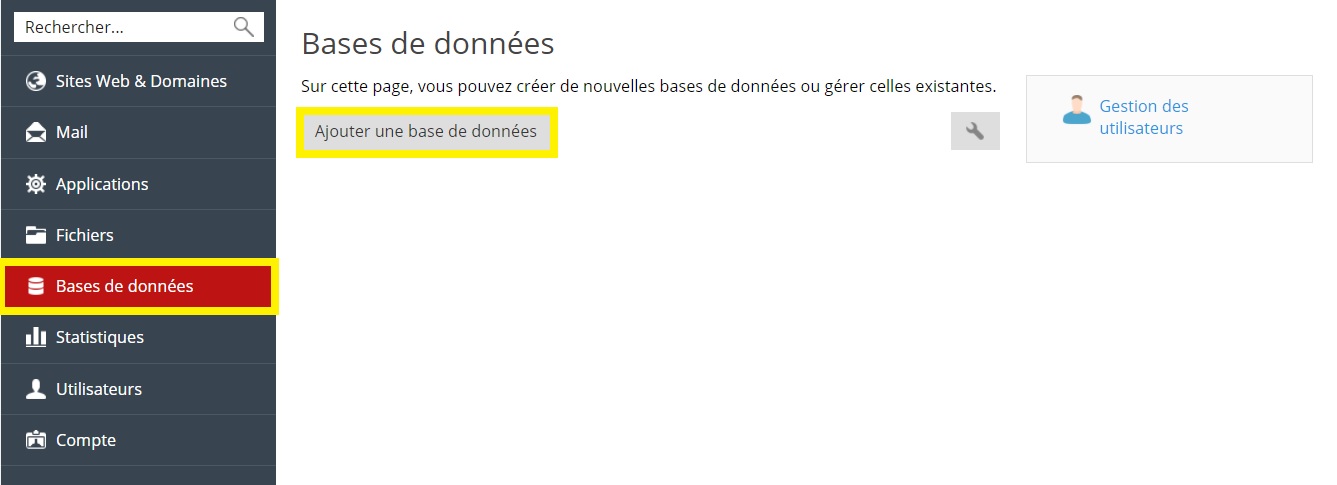
You need to start by going to your customer interface, the link to which can be found on our showcase site. Once there, click on Plesk > My Plesk (Manage my subscription) > menu Databases.
Click on the button Add a database.
If this button does not appear, it means that you have reached the limit of the number of databases in your hosting package shared. If in doubt, consult our mutualized offers on this link.
Put the name of the database, as well as the site that will use it.
It is advisable to use a meaningful database name. Avoid empty spaces and special characters.
Create a database user and a password for the user.
Make sure that the password is of security level Fort so that the system can accept it. Use the two buttons Generate and View to have Plesk help you set a reliable password.
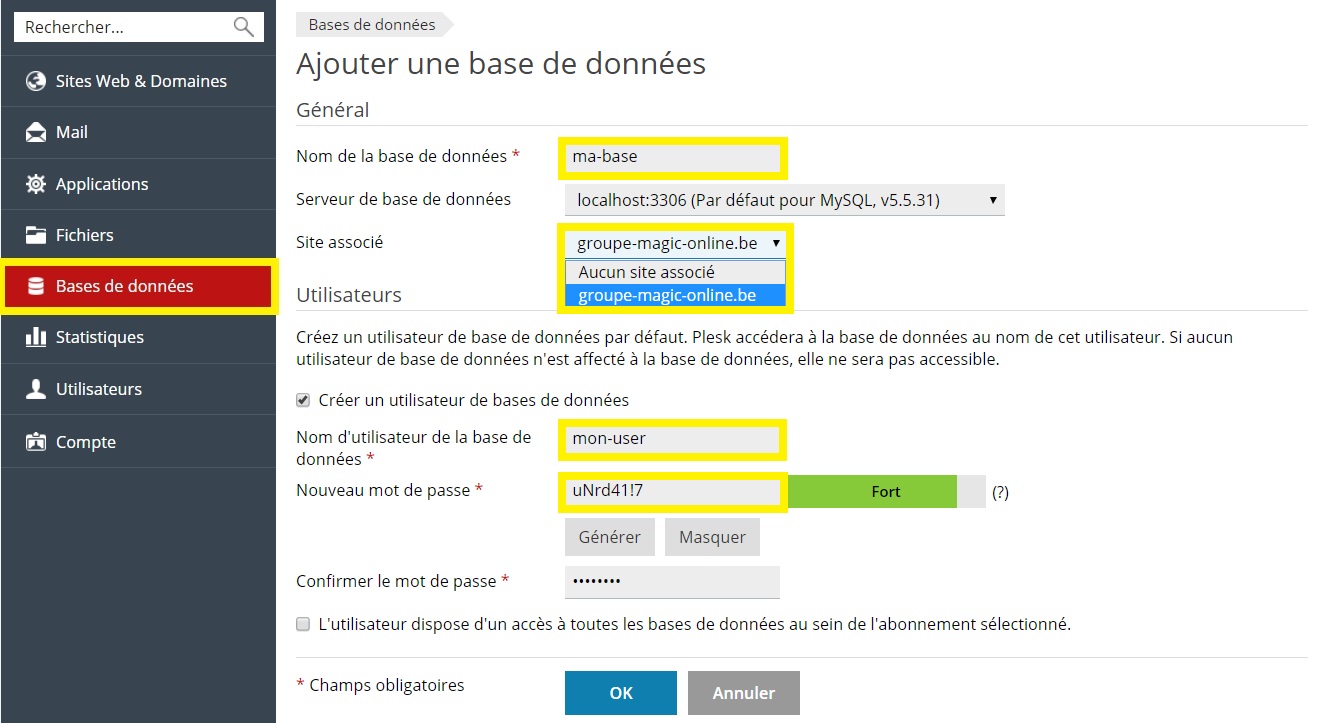
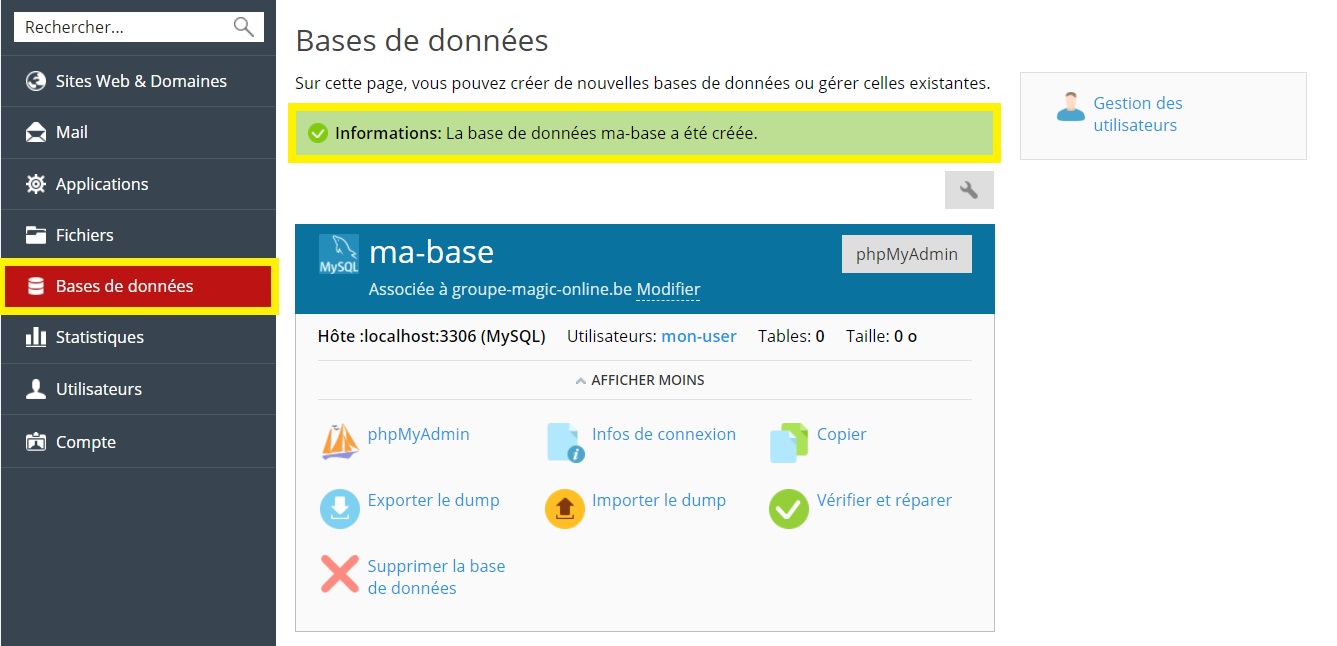
Click on OK for the creation to be successful.
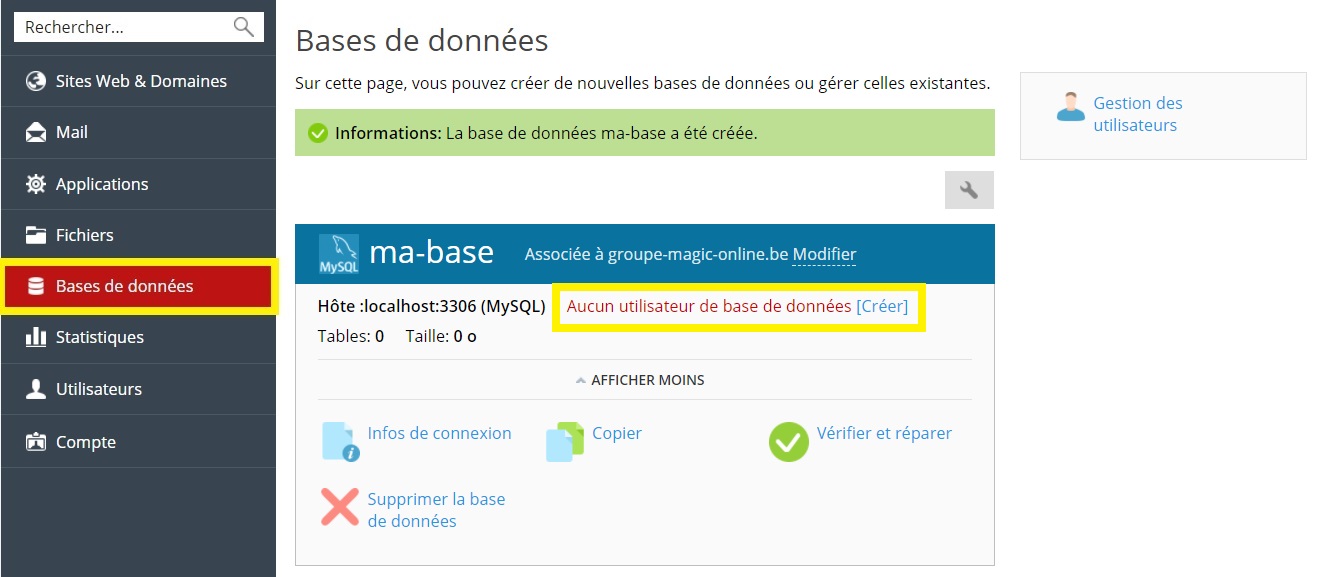
Warning: If you uncheck the Create a database userand you do not assign a user to your database, you will be presented with the following display and you will be deprived of the link phpMyAdmin which is used to go to the database. Moreover, you will not be able to use it in your scripts either.
NOTE:
- It is not possible to remotely access the database for shared offers, because the servers are filtered.
- To do this, you will have to switch to the VPS or Dedicated offer.