In this guide, we will take as an example the domain "magic.fr" and the following configuration parameters;
- Email address used in our example: adressetest@magic.fr
- Incoming server used in our example: mail.magic.fr
- Outgoing server used in our example : mail.magic.fr
Open the Outlook application.

Click on 'File' and then 'Add an account'.

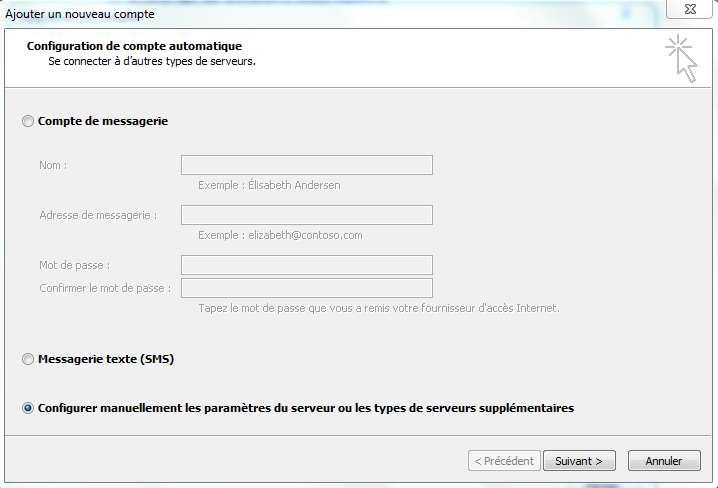
Check the 'Manually configure server settings or additional server types' option.
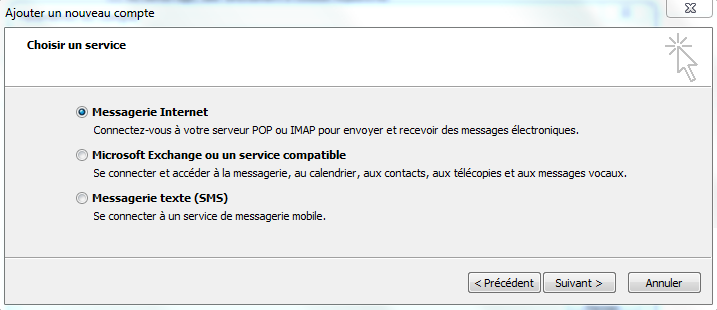
Choose the 'Internet Messaging' service.
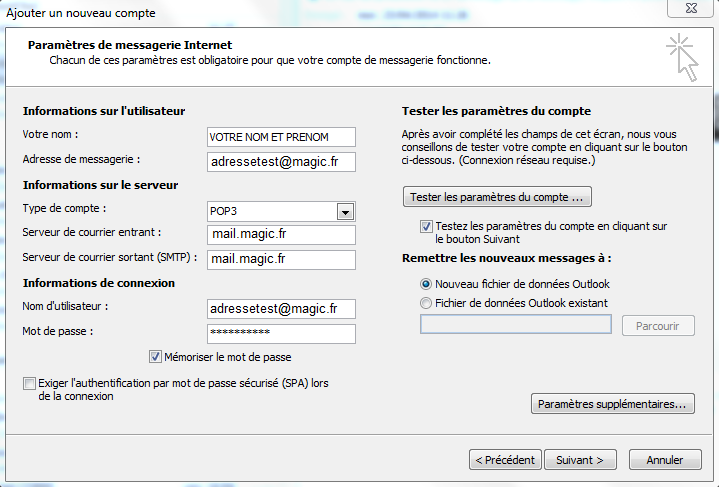
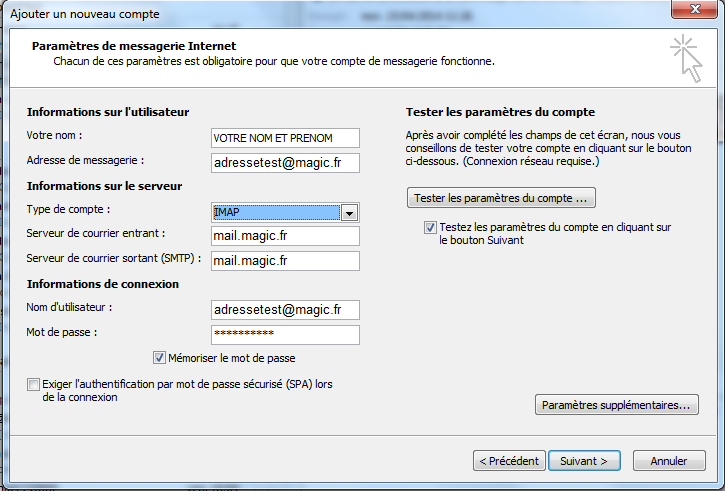
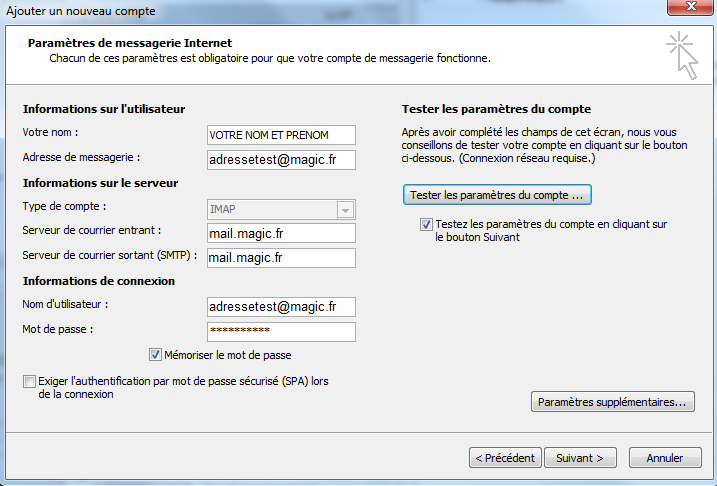
Set your account configuration settings as noted on the print screen.
- If you are hosted on the Linux shared platform, you can use the POP or IMAP protocol on the incoming server.
- If you are hosted on the Windows shared platform, you can only use the POP protocol with the limit of one connection per email address.
POP protocol:
IMAP protocol:
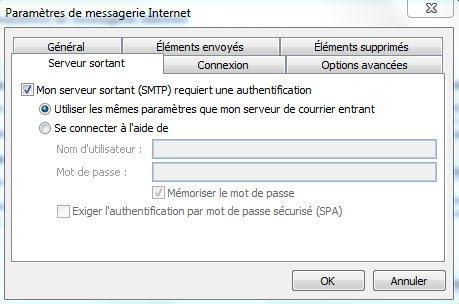
Then follow the 'Additional settings' button, then the 'Outgoing server' menu, and check the following two options:
- My outgoing server (SMTP) requires authentication.
- Use the same settings as my incoming mail server.
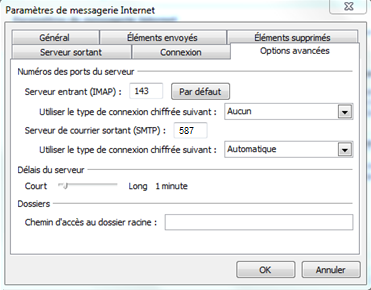
In the 'Advanced Options' tab:
- Change the Outgoing Mail Server port to 587.
- Select 'Automatic' for the outgoing server encrypted connection type.
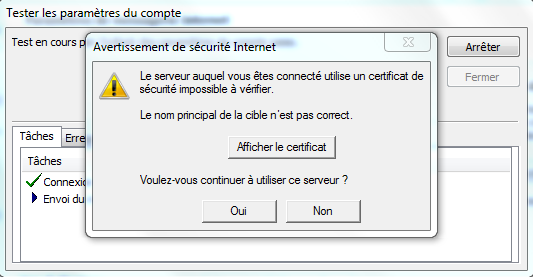
Validate and click on the button 'Test account settings'.
The system will show you a certificate to confirm, put 'Yes' on the window that appears.
Your test is successful, exit the small test window.
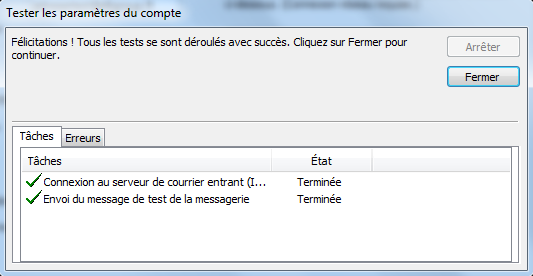
Do 'next' then 'Finish' to confirm the configuration of the mail account on Outlook.
Congratulations! Your Pro address is properly configured in Outlook 2010.

This is the end of this tutorial, thank you for your attention.