In this guide, we will see how to install WordPress automatically on Plesk.
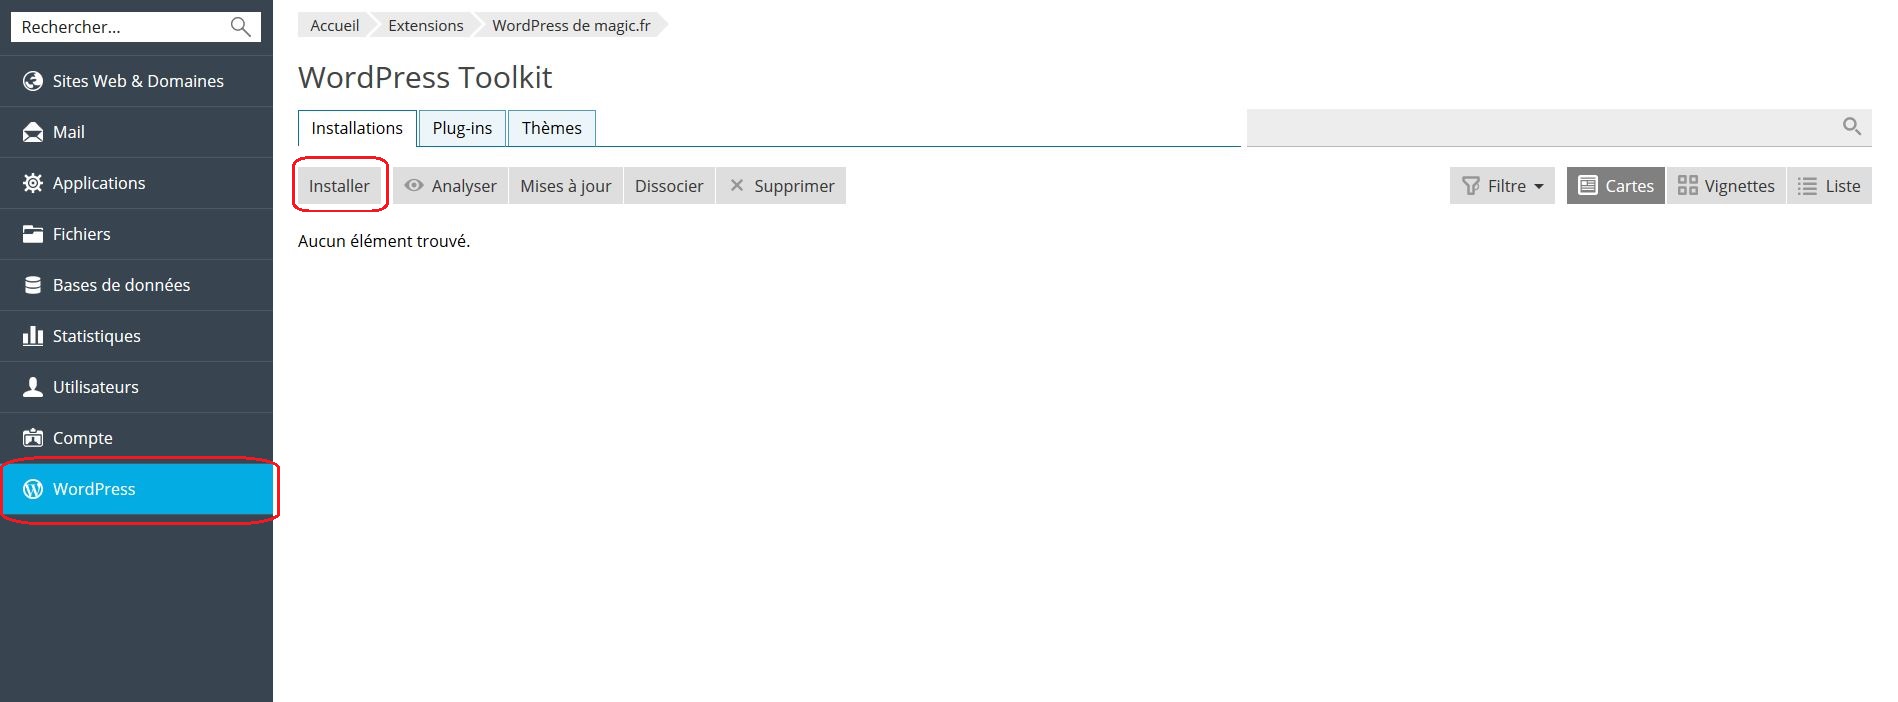
1- First of all, you have to go on your customer interface > Plesk menu > My Plesk (Manage my subscription)
2- Go to the WordPress then click on Install.
After that, an installation window WordPress will be displayed.
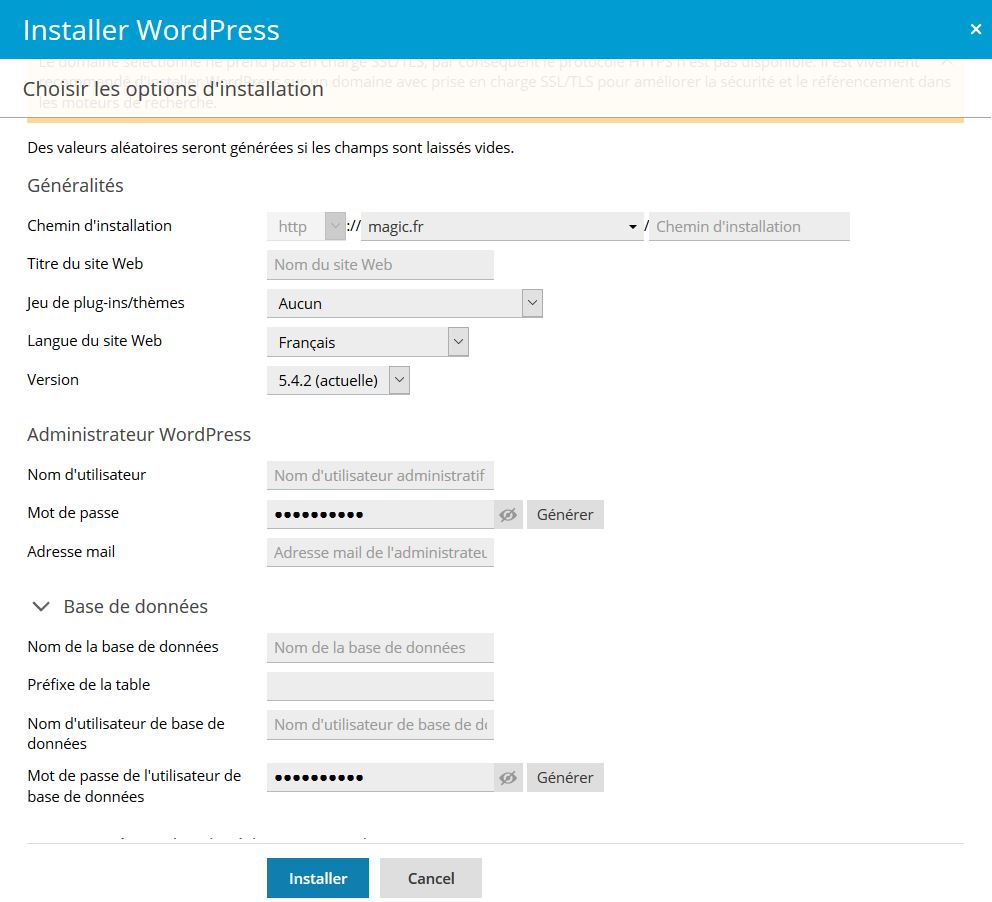
* In the GeneralYou will essentially choose the domain name in question, the version of WordPress, the title and the language of the site.
* In the WordPress Administrator, you will enter the necessary information to create an administrator access to the WordPress Backoffice.
* In the Data baseYou will enter the necessary information about the database that will be used to install WordPress.
After adding this information, click on Install.
To start using WordPress, follow the link Administrative interface.